
start with the right tools. You will need an exacto knife, blades and tape, lots of tape.

Find a template, or make your own. When printing from the computer, you can size to your needs and either fit to a card space or scrapbook page. Aso chose your layout and colors for your page (card or scrapbook) prior to beginning your project. Pick your colors, pick 4-5 different patterns either similar or close. This pattern required a peachish color for the skin for example. I will not be rotating color strips throughout, I will do different pieces using different papers.

Use packaging tape to ' laminate' the tmeplate so it is more durable and reusable.

tape the template face down on the paper you are using. I choose a lavendar cardstock I will implement into a dance page on a scrapbook. Remember when taping the template down this will be the side that faces up. Make sure you use a tape that holds, but is easy to remove. You don't want to do all the work then have your card front ruined when you remove the template.

This is my cardstock with the template cut out and removed.
The template is just flipped over then retaped down for assembly.

I choose this paper for the 'belt of the ballet gown.

In the skirt I alternated papers using polka dots and pink.

The peach is the skin and the crackle is the ballet top.

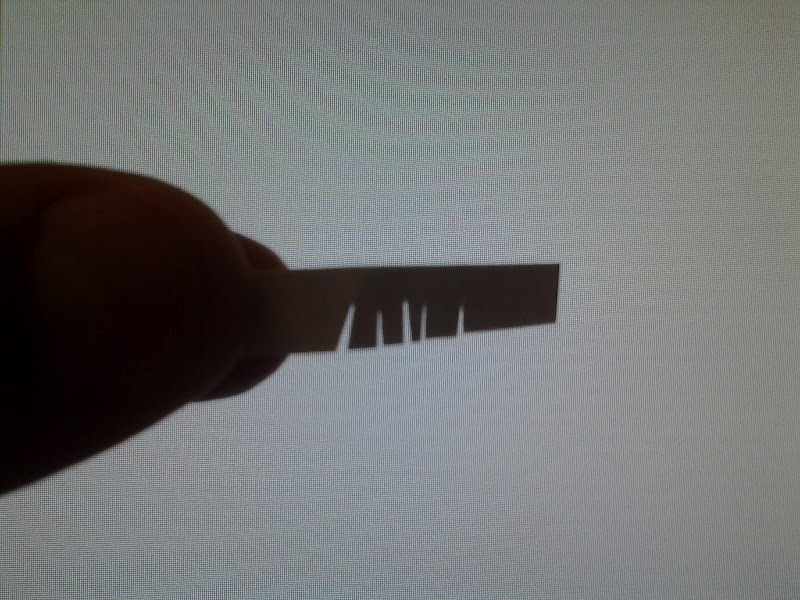
Begin assembly (remember you are working from the back and template is taped to the FRONT of the card.) You are supposed to follow the numbers in order on your template. I deviated a little to show you an example of how this works. I placed the belt first as it was the only strip of that color I was using on this project. I thne placed hte first strip of the dress. I went back to the feet and did the feet first, since the strips of the dress would cover the feet up if not.

When the feet were complete, I went back to the dress, alternating strips across the belt line. Make sure hte tape doesn't go into the bodice area. make sure every piece is secure to the card, as well as the piece before it. When finishing a section, tape the section end down as well to secure it. You can't use too much tape. Tape will make your project more durable and lay flat.
You can trip excess paper and tape down but don't trim strips too short.
This is a piece cut specifically for the brow of the hairline.

You can see it here in place. Also the hair and bun shoudl be done in a different color, but I will color them darker myself afterwards. Don't be afraid.

Next is the hands, in the peach color, same as the feet.

Then fllow the numbers to the body. Some pieces are long and some are short so don't precut your pieces.

The last thing is the face. Make sure the chopped hairline is covered fully so there is no light let thru.

My ballerina. Beautiful!!!
It took me two hours to do.
It is well worth the patience and time put into it.
You will be so pleased with your finsihed work.
This is the biggest (largest) iris template I have ever done.
I love it.
No comments:
Post a Comment